I hope you find value in this blog post about waterproofing a backpack!
I went on an overnight jungle hike in Cambodia a few years ago.
On the first day, my travel companion and I were led deep into the rainforest by a local guide, past waterfalls, across raging rivers, and through crazy Cambodian fauna and flora.
Needless to say, it was amazing!
But then the heavens opened…and stayed open.
Rain ripped through the jungle canopy for hours, drenching us to the bone in the process.
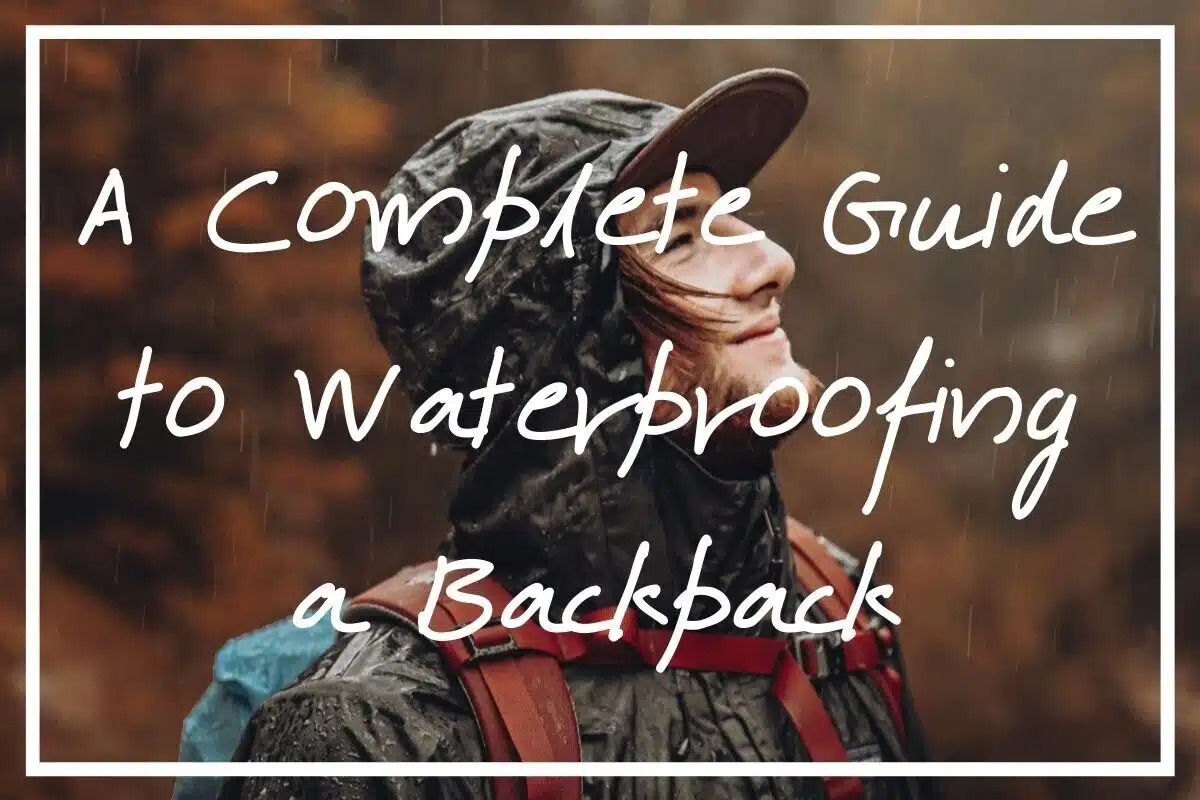
The only saving grace? I’d brought along a rain cover to put over my backpack. Even though I was sopping, my gear stayed nice and dry.
Right then I understood the importance of waterproofing a backpack! Without that cover, everything from my hammock (i.e. that night’s accommodation) and sleeping bag to my spare clothes would’ve been soaked.
Are you trying to find out how to waterproof a backpack so you can stay dry in similar situations? Well, this backpack waterproofing guide should help!
Check it out to discover the different ways to waterproof a bag you’re planning to take into the great outdoors.
Ready to learn all about waterproof backpacking? Here we go…
Related Posts You Might Like:
- What to Wear Hiking!
- 15 Different Types of Camping
- How to Boil Water Camping
- How to Attach a Sleeping Bag to a Backpack
- The Best Sleeping Bags Under $100
- The Best Instant Tents for Camping
- The Best 12-Person Tents
- The Best Backpacks for Survival
- The Best Hiking Backpacks Under $100
Waterproof Backpacking vs Water-Resistant Backpacking
Before I get into all that, though, there’s a key distinction that’s worth keeping in mind.
Basically, not all ‘waterproof gear’ does what it says on the tin!
Picture that waterproof rain jacket you wore last winter, which immediately let water through in a downpour, or the waterproof tent that did the same.
You might have expected those items to be waterproof (and the labels might even have claimed they were waterproof!).
Yet they were only ever water-resistant.
And levels of water-resistance vary massively, depending on factors such as the materials, seams, and overall quality of the product.
From what I understand, fully-waterproof gear’s designed to be submerged. You could use it in the bath and it’d still keep whatever’s inside dry!
Likewise, just because something’s made from waterproof materials doesn’t guarantee that it’s watertight. You might have a full PVC dry bag. But all it takes is a single hole, or an incorrectly fitted buckle, to leave space for water to seep in.
Keep all this in mind when waterproofing a backpack.
Pick a method that matches your plans. If you’re floating your backpack down rivers and taking it under waterfalls, then you’ll need to fully waterproof your backpack. For everything else, high-quality water-resistance should do fine.

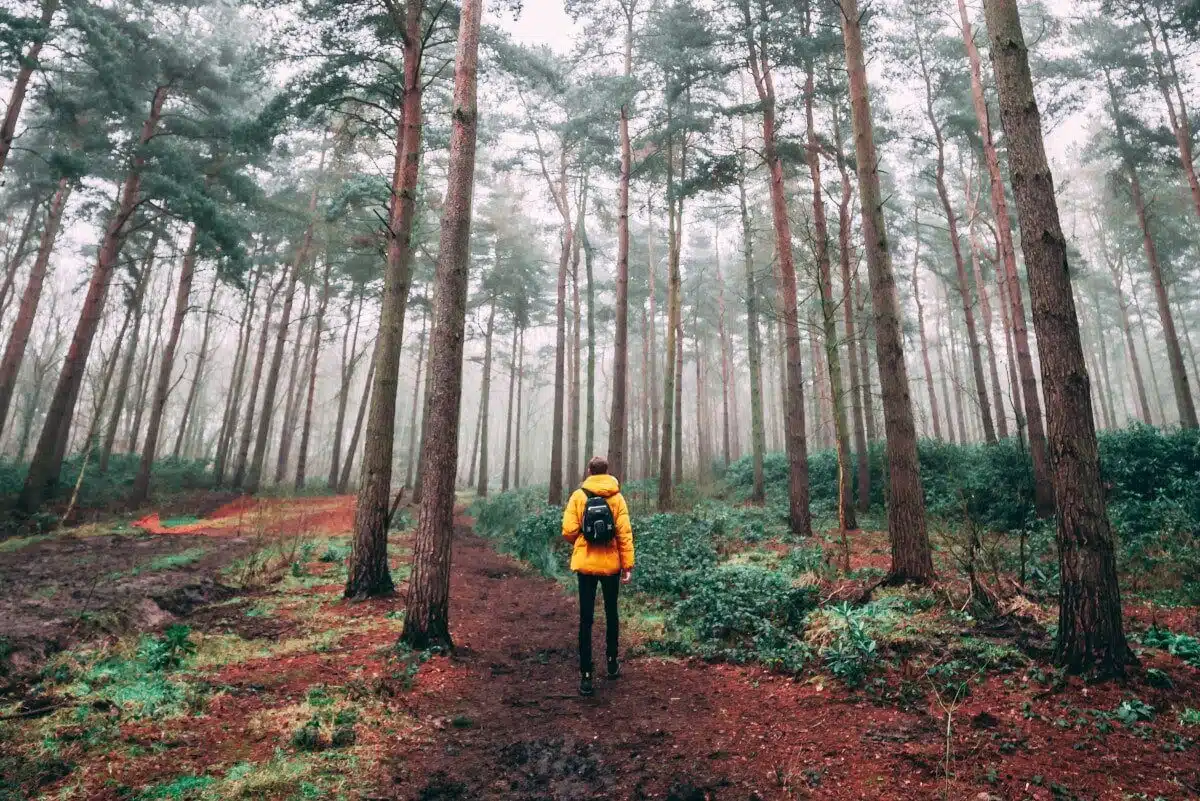
Knowing how to waterproof a bag is all-important if you’re heading out into the rain!
How to Waterproof a Backpack
Knowing how to waterproof a bag is crucial for anybody who enjoys spending time outdoors throughout the year. Here are some suggestions and strategies for how to do it:
Choose Your Backpack Wisely
My first suggestion is to be selective with any backpack(s) you buy. They’re definitely not all made equal when it comes to waterproofing!
Look for backpacks that are:
- Designed for hiking/backpacking,
- Made from water-resistant materials (treated nylon, polyester, and PVC are best),
- Kitted out with waterproof seams, and
- At least mid-range as far as price (budget-friendly bags aren’t renowned for their waterproof capabilities).
Likewise, many of them will have waterproof rain/pack covers included too (more on these later). It goes without saying that that’s a major bonus when it comes to waterproofing a backpack!
Not only does it save you having to buy one separately, but it also means you’re always covered (literally…) if it starts raining.
Buy a backpack with these attributes and you’ll have a good level of water-resistance anyway! Already own a backpack?
Run a test!
Throw a glass of water over it (or spray it with the garden hose) and see what happens.
In an ideal world, the fabric will repel most of the liquid. Combine this with the other methods of waterproofing a backpack on this list and you’ll be golden.
Bad weather got you wondering how to waterproof a backpack? Try pack liners!
Try Waterproof Pack Liners
A pack liner’s basically a waterproof plastic bag that you place inside your backpack. You then pack your gear into the liner rather than directly in the backpack. The result?
There’s a new waterproof membrane separating your stuff from the wet weather! Your backpack might get wet, but everything inside should be fine (assuming you sealed the liner shut properly).
Heads up, it’s tempting to pack your belongings into the liner first, thinking you’ll be able to squeeze it inside the backpack after. But, as you’ll soon realize, it doesn’t work (unless you’re not packing many possessions)! Always pop the liner inside before loading up.
Top Tip: You don’t necessarily need an official, purpose-built pack liner!
Sometimes, all you need is a garbage bag or two. You won’t get the same functionality (e.g. useful carry handles and special sealing systems), but you’ll save some money and still enjoy a reasonable level of waterproofing (assuming there are no holes and you’ve sealed the bags tightly).
PROS:
- These liners are lightweight and durable.
- They’re budget-friendly too!
- They provide effective waterproofing.
- By trapping air inside the liner before sealing it, you create a buoyancy aid that’s ideal for floating your backpack over water.
CONS:
- They can make packing and repacking awkward.
- They can tear and develop holes over time, making them impractical.
- It’s imperative to seal them shut tightly! Don’t, and your stuff’s getting wet.
VERDICT:
The awkward packing problem is my major bugbear with pack liners. They’re way better than nothing as far as waterproofing goes though! All told, given the possible rips, tears, and sealing issues, I’d say they’re best used in collaboration with other methods.
Waterproof hiking backpacks can be fully submerged without letting any water inside! If you need waterproofing of that nature, check out this alternative pack liner approach:
Try the Alternative Pack Liner Approach
Okay, imagine that you’re walking through a forest and there’s a river to cross. Maybe you even want to save some time (or just have some fun!) by floating down it.
Leaving lots of air inside a pack liner that, in turn, is inside your backpack is a viable option. All that trapped air should make it buoyant, enabling you to float it across the surface.
Take that tack and the backpack itself is almost certainly going to get wet though!
And the extra weight that ensues is less than ideal whenever you come to pick it back up.
In this case, another means of waterproofing a backpack with a liner is to put the backpack inside the liner instead.
If the liner’s big enough, has no rips whatsoever and can be sealed tight, then this is a viable alternative that’ll prevent both the pack and its contents from taking on water.

With no rain cover in sight, this guy needs to learn a thing or two about waterproof backpacking!
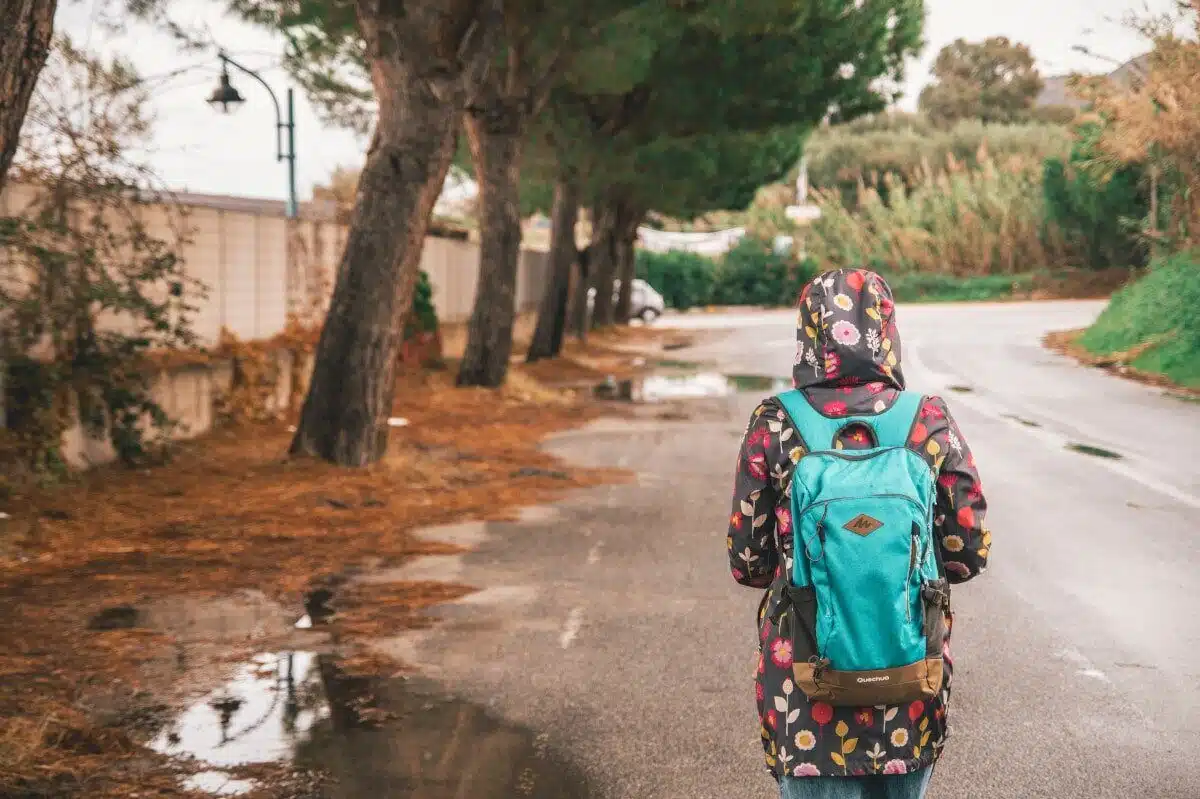
Use a Waterproof Rain Cover
Waterproof rain covers (sometimes called pack covers) have saved my bacon countless times on my travels!
These thin plastic covers with elasticated edges, usually made from polyester or rip-stop nylon, fit over the front/top of your backpack, protecting it from the rain.
You can either buy them separately (they fold up small and have a stuff sack attached) or purchase a backpack that includes one.
Where possible, I recommend the latter.
Pack covers that come with the backpack fit perfectly and have clever zip pockets in which you stow them away. When the rain starts falling, there’s no faffing around searching for it. You unzip the pocket, pull it out, and fit it over the pack in seconds.
Buying one separately?
Make sure you select a rain cover that’s the right size for your pack.
Anything too small is pointless; anything too big will flap around in the wind, create gaps for water to flow into, and may not fit at all.
PROS:
- Small and ultra-lightweight.
- Cost-effective backpack waterproofing solution.
- Quick, convenient, and easy to use.
- They often come free with the backpack itself.
CONS:
- Definitely not designed for submersion!
- Only covers the main backpack body, leaving the straps exposed.
- In serious storms, water can flow between your back and the pack, wetting it from the uncovered side.
- In my experience, they’re not impervious to sustained heavy rainfall.
VERDICT:
Assuming they fit well and are made from high-quality materials, pack covers are a convenient waterproofing backpack solution. The fact they’re (often) attached to your bag means you’ve always got some protection from the weather.
That said, you shouldn’t rely on them as a primary method of waterproofing a backpack- especially when you need to (or there’s a risk that you’ll) submerge it.

Dry bags and zip lock bags are awesome resource when it comes to waterproofing bags.
Leverage Zip Lock Bags & Dry Bags
Remember the backpack liner above? Well, imagine a piece-meal version of that approach and that’s essentially how you waterproof a backpack with zip lock bags and dry bags!
This time, you place individual items that you need to stay dry inside zip lock and/or dry bags of appropriate sizes. For example, you might:
- Put your coffee and food inside one small zip lock bag,
- Place spare clothes into a mid-size dry bag,
- Pop your first-aid kit inside a smaller dry bag, and
- Put any electronics/valuables into a waterproof phone pouch.
When they’re all sealed shut, each type of bag offers true waterproofing capabilities.
As the name suggests, dry bags are literally designed for this purpose! They’re also much more durable and less likely to break open of their own accord.
When everything’s safely wrapped up, you’d then pack it all into your backpack as normal.
Top Tip: If you’re heading on extended trips to places renowned for bad weather, consider combining this zip lock/dry bag approach with the pack liner method.
So, you’d put each individual item inside a bag, then place it all inside the liner, which sits inside your backpack! Throw a rain cover into the mix and you can all-but guarantee that everything will stay dry.
PROS:
- The same waterproofing benefits of pack liners without the awkward packing problems.
- Durability of dry bags means less chance of rips/tears impacting waterproof capabilities.
- Super effective method of keeping your gear dry!
CONS:
- Sealing the bags incorrectly could spell trouble.
- Lots of packing and unpacking required.
VERDICT:
All told, this is a winning waterproof backpacking method, particularly when you combine it with others on this list. The backpack itself will get wet (unless you use a rain cover, of course), but the contents inside will stay bone dry.
Sealing sprays are another backpacking waterproof solution to try.
Use Waterproof Sealing Sprays
Waterproof sealing sprays are a popular way to bolster your backpack’s bad weather defences. The main reasons for their popularity?
Ease and cost-effectiveness.
In other words, these products (known as durable water repellents, or DWRs, for short) are relatively cheap to buy and simple to use.
Here’s how it works:
- Clean your backpack to remove any dirt and grime.
- Allow the backpack to dry out completely.
- Spray the backpack from top to bottom with the DWR, in line with the manufacturer’s instructions.
- Applying a second coat is sometimes recommended for added water-resistance.
The main thing to note here is that this doesn’t waterproof your backpack!
It merely increases your pack’s current water-resistance (if it’s made from water-resistant materials). That’s useful in light rainfall, but more or less hopeless in a deluge.
Top Tip: Many people also choose to apply what’s called a seam sealer to, you guessed it, the seams on (and in) their backpack.
These areas of highly susceptible to letting water in; these products are designed address that issue. You’d apply the seam sealer at the end of the process I just described, after you’d sprayed the backpack, and then let it dry.
PROS:
- Simple and inexpensive process.
- Useful first line of defence.
- Augments your pack’s current water-resistant capabilities.
CONS:
- Slow process.
- Never 100% waterproof.
- Requires periodic re-spraying.
- Heavy rain? You’re in trouble.
- Definitely not submergible!
VERDICT:
It’s well worth doing as a first-line of defence against showers. However, don’t expect fool-proof results- especially in heavier rain. Use in collaboration with other backpack waterproofing methods.
Remember This Guide to Waterproofing a Backpack
Waterproofing a backpack is all-important for anyone who spends extended periods of time in nature. After all, weather conditions can be unpredictable! And trouble ensues if the heavens open and you’re caught unaware, with no way to keep the water at bay.
With any luck, the suggestions in this post have highlighted exactly how to waterproof a backpack. Keep them in mind, put them into action, and you should never have to experience the misery of waterlogged gear in the great outdoors.
Click here to check out all of my outdoor-related articles!